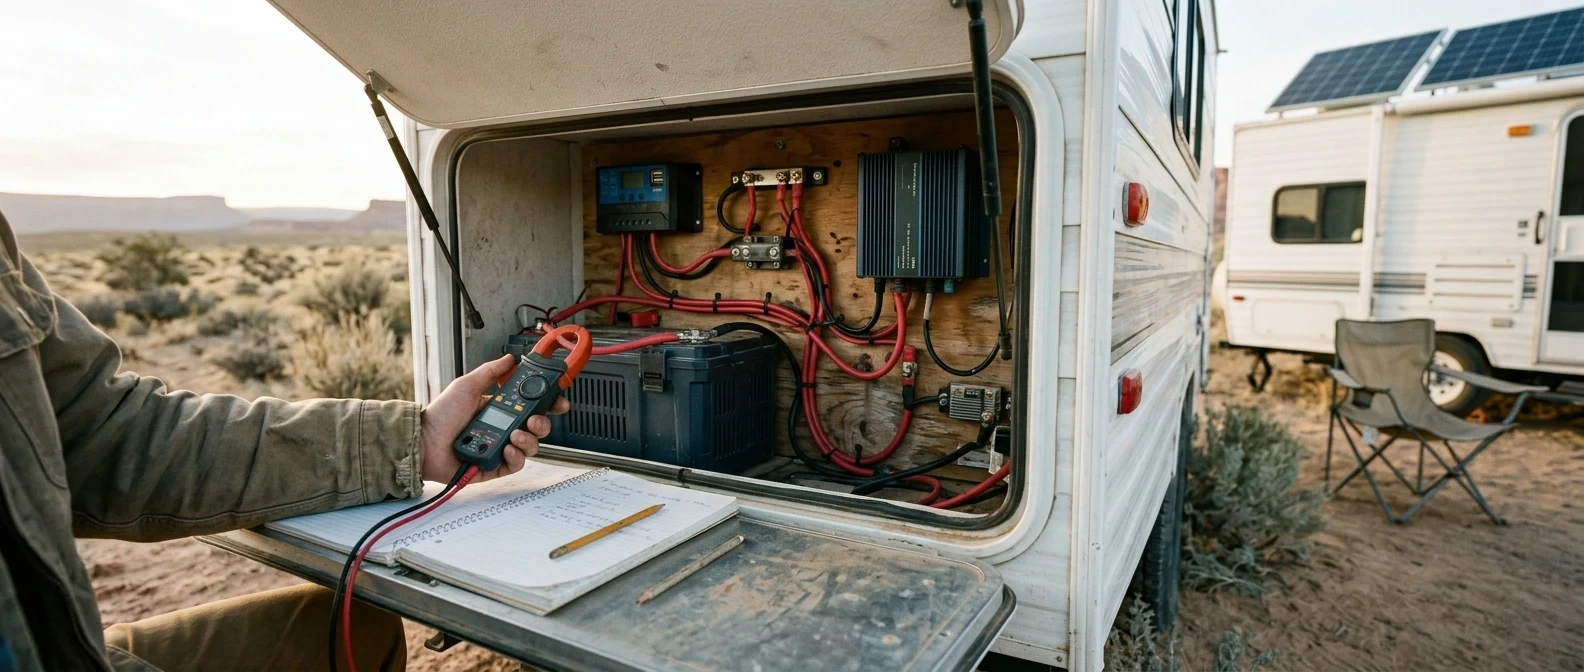
Designing an off-grid solar and battery setup involves understanding running watts, surge watts, watt-hours (Wh), and peak sun hours. This guide outlines a 4-step process to correctly size portable power stations or custom DIY solar arrays.
The 4-Step Sizing Process
Step 1: Calculate Your Total Daily Load (The Power Audit)
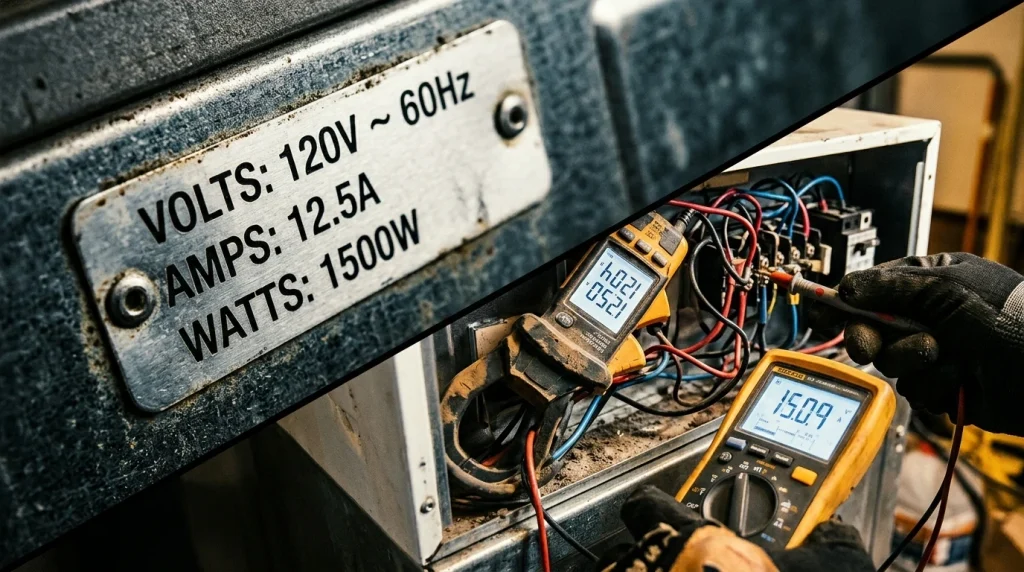
Before you spend a single dollar on hardware, you must find out exactly how much energy your setup will consume. This is called a power audit, and it forms the mathematical foundation of your entire off-grid system.
To complete a power audit, you need to understand the difference between two critical metrics: running watts and starting surge watts.
- Running Watts (Continuous): This is the constant power an appliance consumes while operating normally (e.g., a laptop charger pulling 60W).
- Starting Surge Watts: This is the brief spike of power required by appliances with compressors or motors just to turn on (e.g., a portable fridge that runs at 50W but spikes to 450W for a split second when the compressor kicks in). If your system’s inverter cannot handle this initial surge spike, the whole system will instantly fault out.
To calculate your total daily load, look at the manufacturer data sticker on the back of each appliance to find its wattage rating. Then, use this simple formula:
\(\text{Device\ Watts}\times \text{Hours\ Used\ Per\ Day}=\text{Watt-hours\ (Wh)}\)
For a standard weekend camping or canopy setup, your daily energy budget might look like this:
- 12V Portable Fridge: 45 Watts × 9 hours (cycling on/off) = 405Wh
- LED Camp Lights: 10 Watts × 5 hours = 50Wh
- Laptop Charging: 65 Watts × 2 hours = 130Wh
- Smartphones & Drones: 25 Watts × 3 hours = 75Wh
Total Daily Energy Budget:660 Watt-hours (Wh) per day.
Step 2: Size Your Battery Bank (Storage Capacity)
Now that you know you need 660Wh of usable power every single day, you must size your battery bank to store it. However, you can never size a battery bank to match just your daily consumption. Doing so leaves you zero wiggle room for rainy days and will rapidly destroy your battery health.
First, you must account for Days of Autonomy—the number of days your system can run entirely on stored battery power when the sky is completely overcast and your solar panels are producing nothing. For a reliable off-grid system, you should always plan for a minimum of 2 days of autonomy (\(660\text{ Wh} \times 2 = 1,320\text{ Wh}\)).
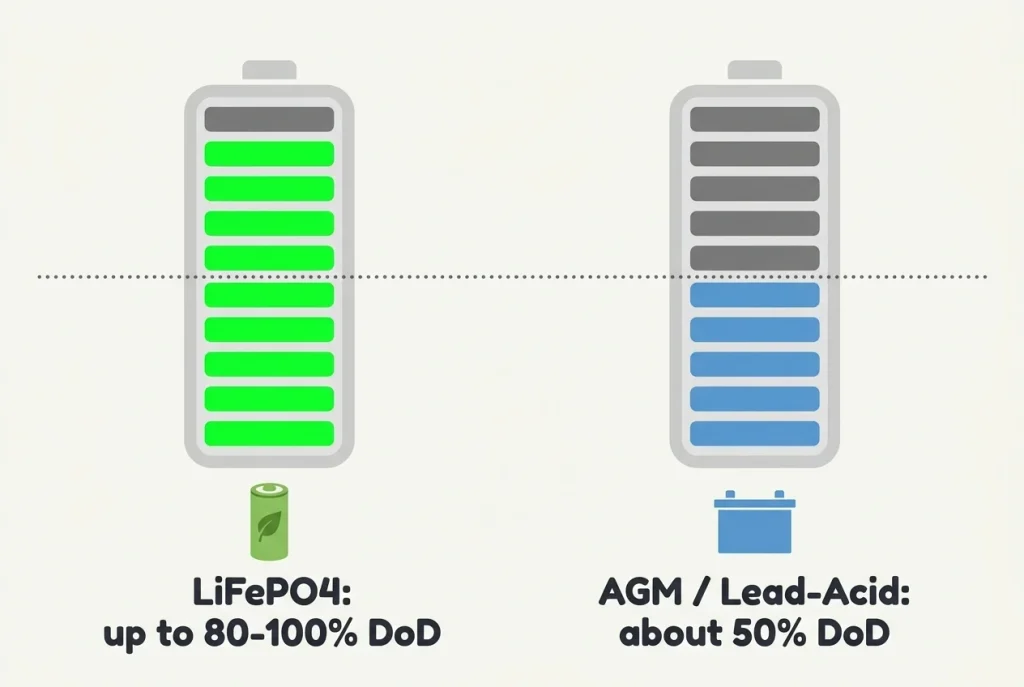
Second, you must factor in your battery chemistry’s Depth of Discharge (DoD) limit:
- Lithium (LiFePO4): These are the modern gold standard. They can safely be discharged up to 80% to 90% of their total capacity without causing internal damage.
- AGM / Lead-Acid: These traditional batteries should never be discharged past 50%. If you pull 100Ah out of a 100Ah AGM battery, you will permanently kill its capacity and lifespan.
To convert your target Watt-hours into Amp-hours (Ah)—which is how most individual deep-cycle batteries are sold—divide the required Watt-hours by your system’s voltage (usually 12V, 24V, or 48V):
\(\text{Watt-hours\ (Wh)}\div \text{System\ Voltage\ (V)}=\text{Amp-hours\ (Ah)}\)
Using our 1,320Wh requirement on a standard 12-volt system, your calculation looks like this:
- If choosing Lithium (LiFePO4): \(1,320\text{ Wh} \div 12\text{V} = 110\text{Ah}\). Adjusted for a safe 80% discharge limit, you need a 138Ah Lithium Battery (or a standard, easily accessible 150Ah single lithium pack).
- If choosing AGM: \(1,320\text{ Wh} \div 12\text{V} = 110\text{Ah}\). Because you can only safely use half of an AGM’s capacity, you must double this figure, requiring a massive 220Ah AGM Battery Bank that will weigh three times as much as the lithium equivalent.
Step 3: Size Your Solar Panel Array (Generation)
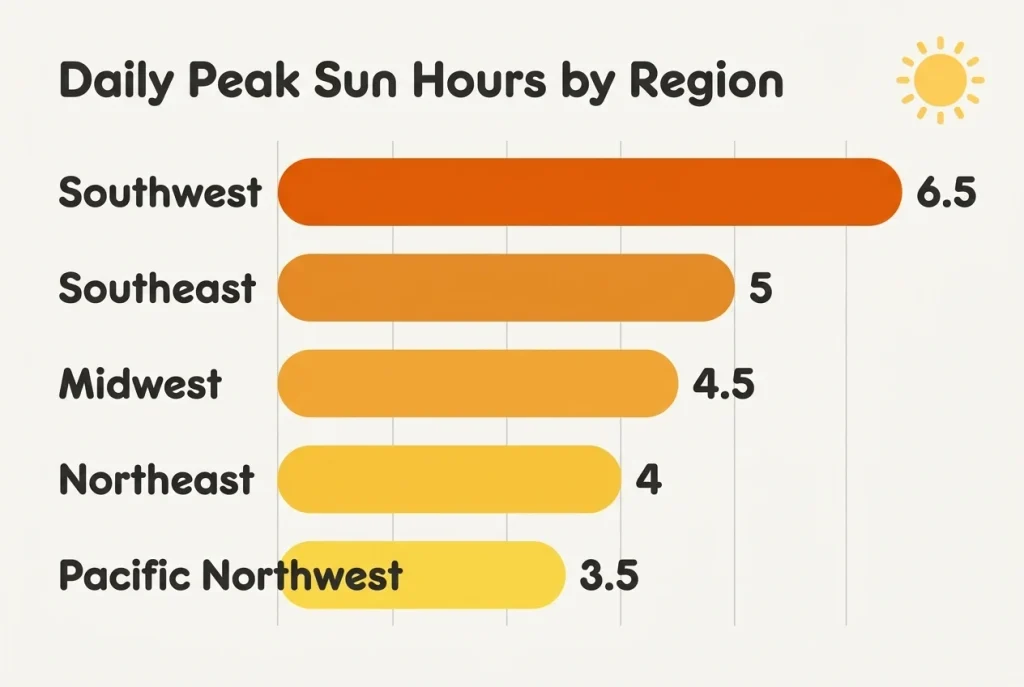
Divide your daily load by peak sun hours (e.g., 4.5 hours) and apply a 1.25x efficiency loss factor to determine your minimum required solar array wattage (yielding approximately a 200W array recommendation).
With your storage capacity locked in, you now need to calculate how many watts of solar panels are required to completely replenish that battery bank during the day. To do this accurately, you must design around Peak Sun Hours, not total hours of daylight.
A peak sun hour is defined as any hour where solar radiation reaches an intensity of 1,000 watts per square meter. Depending on where you live and the season, your usable peak sun hours will change drastically:
- Summer/Sunny Regions: Average of 5 to 6 Peak Sun Hours per day.
- Winter/Overcast Regions: Average of 2.5 to 3.5 Peak Sun Hours per day.
To ensure your system successfully charges even during less-than-ideal winter weather, always use a conservative baseline of 4 Peak Sun Hours for your calculations. Furthermore, solar panels never operate at 100% efficiency due to real-world factors like passing clouds, dirt on the panels, and extreme summer heat (which degrades panel efficiency). To counteract these real-world losses, we always apply a 1.25x safety multiplier factor.
The calculation to find your minimum solar array size is:
\((\text{Daily\ Load\ in\ Wh}\div \text{Peak\ Sun\ Hours})\times 1.25=\text{Required\ Solar\ Watts}\)
Using our baseline 660Wh daily load:
- \(660\text{ Wh} \div 4\text{ Peak Sun Hours} = 165\text{ Watts}\)
- \(165\text{ Watts} \times 1.25 \text{ Efficiency Loss Factor} = \mathbf{206.25\text{ Watts}}\)
To safely cover this requirement, you would purchase either a single 200W rigid solar panel or a premium 200W folding solar blanket.
Step 4: Choose the Right Gear Layout
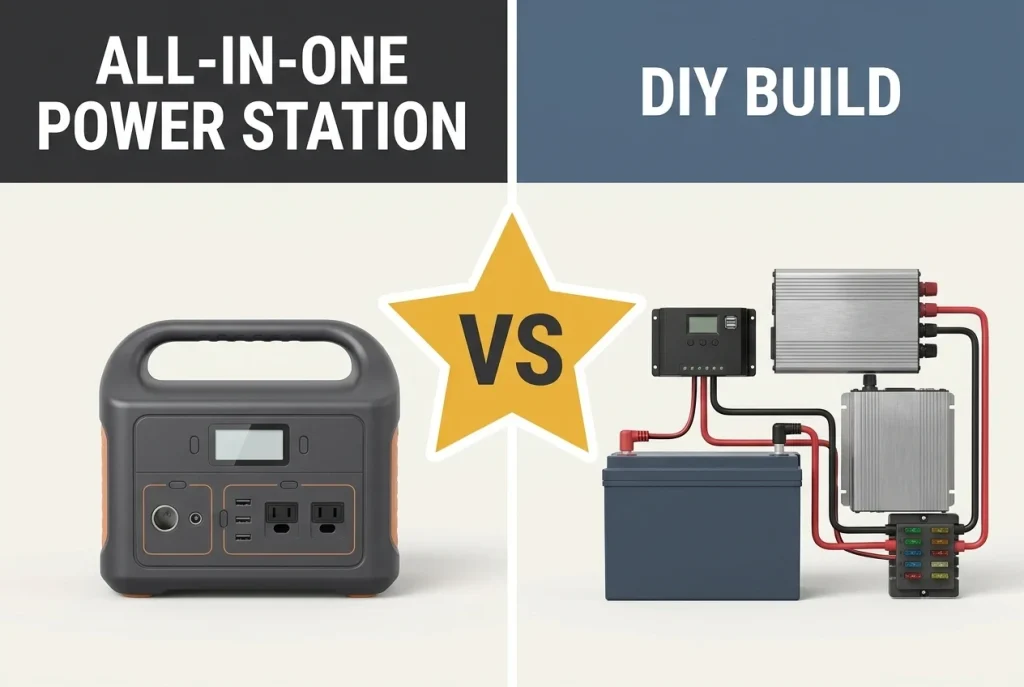
With all your math completed, you have officially arrived at the final step: choosing the hardware eco-system that matches your budget, spatial layout constraints, and DIY comfort levels. Off-grid power systems are split into two primary construction paths:
Path A: The All-in-One Portable Power Station Route
Brands like EcoFlow, BLUETTI, and Jackery have completely revolutionized off-grid living by packing the lithium battery, solar charge controller (MPPT), battery management system (BMS), and pure sine wave AC inverter into a single portable box.
- The Pros: Zero complex wiring required, completely plug-and-play, portable grab-and-go handles, and integrated direct USB charging ports.
- The Cons: Proprietary ecosystem expansion packs can be highly expensive, and if one internal component fails, the entire unit usually needs to be sent in for repair.
Path B: The Custom DIY Component Route
Building a permanent component system using brands like Renogy or Victron Energy involves purchasing your lithium batteries, heavy-duty inverters, and MPPT solar regulators completely separately, then mounting and wiring them permanently onto a vehicle canopy wall or cabin backboard.
- The Pros: Infinite upgrade flexibility, significantly lower cost per watt-hour, and easy troubleshooting since you can swap out any individual broken component down the road.
- The Ends: Requires hands-on electrical assembly knowledge, specialized copper crimping tools, complex inline fuse blocks, and a permanent dedicated installation space.