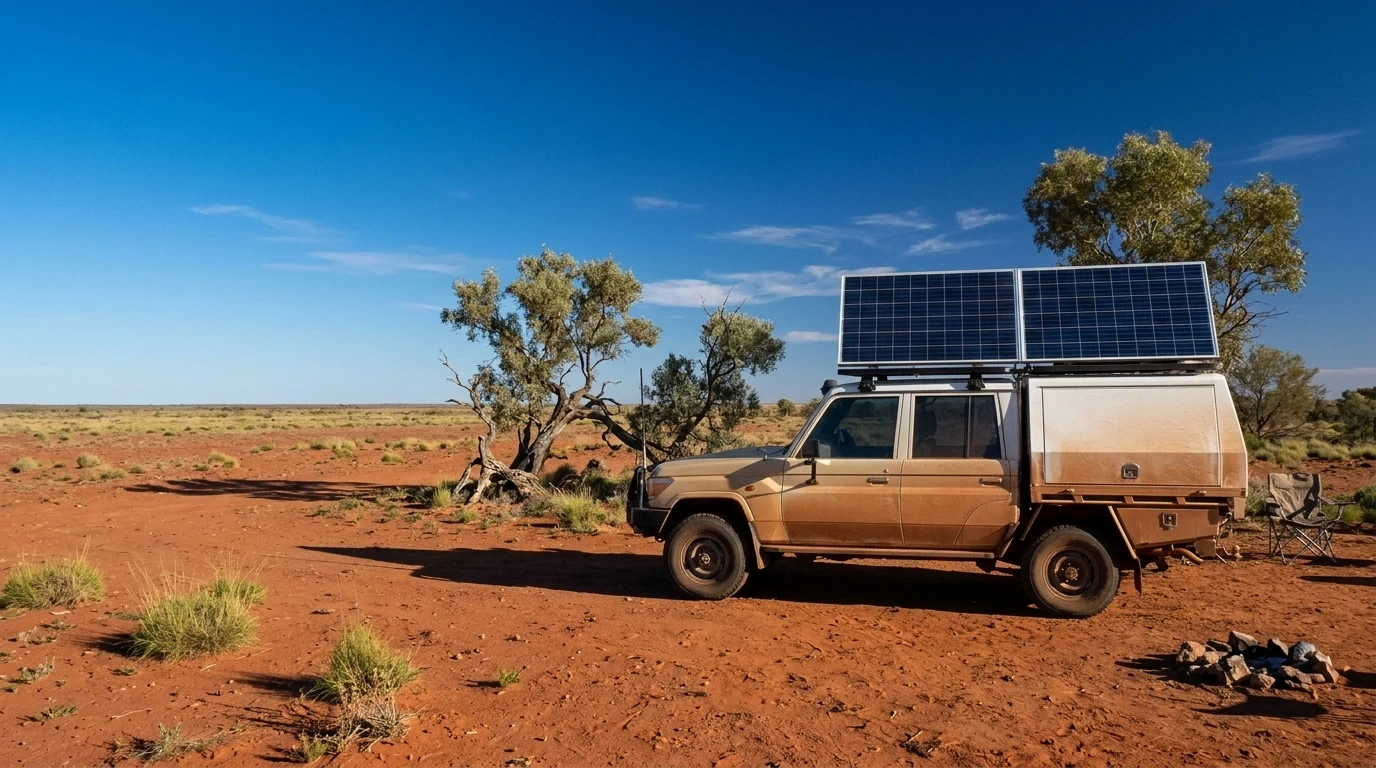
Two rigid monocrystalline solar panels on the roof rack, soaking up the first morning sun at an outback camp. Flat, sturdy and ready to keep your gear charged off grid.
For a fixed solar setup, such as a caravan roof, a 4WD canopy, a shed or a cabin, a rigid glass panel is usually the first thing to consider. It is the most common type, it lasts the longest, and it costs the least per watt.
This guide explains how rigid monocrystalline panels work, how to choose a size, how to mount and wire them, and when a different type suits you better.
Short answer: If you have a flat surface and enough room, a rigid monocrystalline panel gives the best value and the longest lifespan. Size it by your daily watt-hours, check that its voltage suits your controller, and mount it with an air gap so it can stay cool.
What is a rigid monocrystalline panel?
A rigid panel is a set of solar cells sealed under tempered glass inside an aluminium frame, with a junction box on the back. Monocrystalline cells are cut from a single pure silicon crystal, which makes them more efficient than the older polycrystalline cells. Quality monocrystalline panels commonly reach efficiencies of around 21% to 23%.
Because they are built from glass and aluminium, rigid panels are tough and long-lived, but they are heavy and cannot bend. Many carry performance warranties of 25 years, though you should always check the terms for the panel you choose.
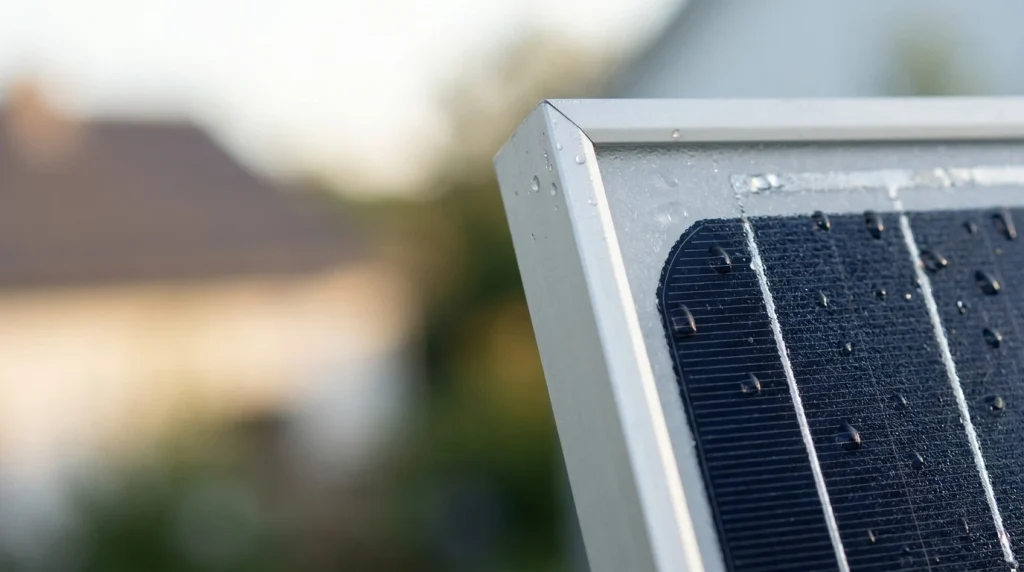
Morning dew on a rigid monocrystalline panel. Tough aluminium frame, tempered glass, and cells that start working the moment the sun clears the ridge.
Common rigid panel sizes
Panel size
Example dimensions (mm)
Typical use
100W
1062 x 530 x 35 (Renogy 100W)
Small canopies, sheds and trailers with light loads
About 190W
1485 x 668 x 30 (a Victron 190W model)
Caravan and camper trailer roofs
About 285W
1550 x 880 x 35 (a Victron 285W model)
Larger roofs, cabins and ground-mounted arrays
These examples come from Australian retailer listings and manufacturer figures. Sizes and weights vary by model, so check the current datasheet. For one example in detail, see our Renogy 100W review.
Where rigid panels make sense
Flat roofs and canopy tops: caravans, camper trailers and 4WD canopies often have room for one or two panels.
Sheds, cabins and workshops: a fixed array can be wired once and left to work.
Ground mounts: a tilt frame lets you aim the panels at the sun and adjust them with the seasons.
Long-term installations: the long lifespan and low cost per watt favour rigid panels wherever the setup stays put.
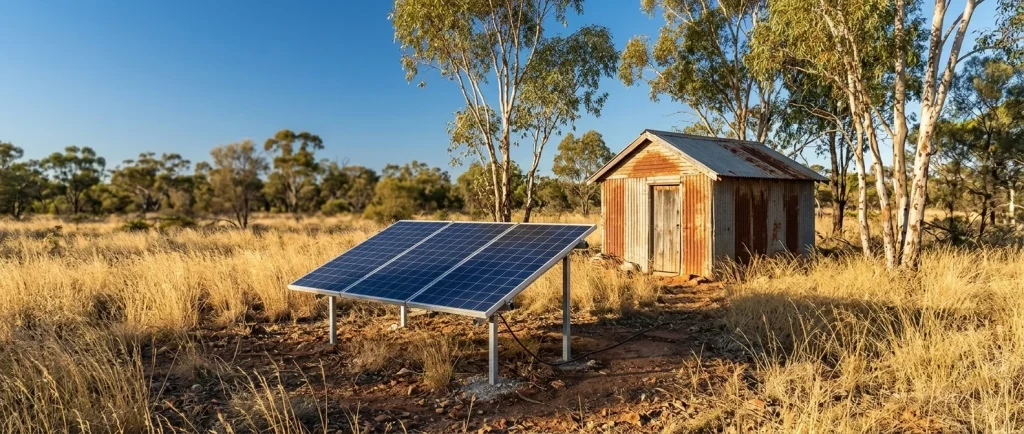
Small off-grid bush shed supported by ground-mounted rack of rigid solar panels
Where rigid panels are a poor fit
Curved surfaces: a glass panel cannot follow a curve. A flexible panel can.
Tight weight limits: a 100W rigid panel weighs around 6 kg, and larger panels weigh more. On a weight-limited roof, that adds up.
Portability: if you want to carry the panel and set it up in minutes, a portable folding panel suits better.
Shaded spots: shade across part of a panel cuts output sharply, so find a clear position or plan extra capacity.
How to mount rigid panels
The mounting method affects safety, airflow and how easy the panels are to service. Follow the manufacturer’s instructions, and check the weight and wind rating of your roof rack or frame.
Mounting options at a glance
Method
Best for
Watch out for
Z-brackets on a roof rack or canopy
Vehicles and trailers; allows an air gap
Check the load rating, and seal any holes properly
Adjustable tilt brackets
Caravan roofs and fixed sites where you want to aim the panel
Adds height; check clearances and wind exposure
Fixed flat mounting
Low-profile roof installs
No tilt, so lower winter output; needs airflow underneath
Ground-mounted frame
Sheds, cabins and campsites
Needs solid footings and protection from wind and theft
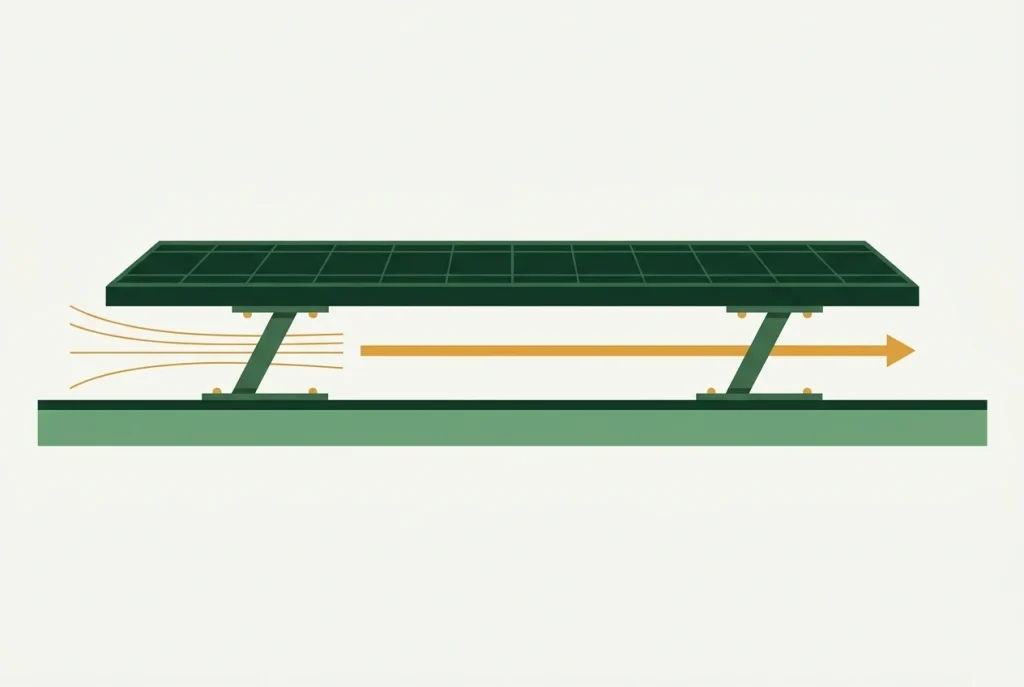
Whichever method you choose, leave a gap behind the panel for airflow, keep cables off sharp edges, and use a cable gland where wiring enters the vehicle or building.
Illustration of a rigid solar panel on Z-brackets above a canopy roof with an air gap and arrow showing the airflow breathing space underneath.
How much solar do you need?
Size the array by your daily energy use, not by how much roof you have. The formula is: panel watts = daily watt-hours × 1.25 ÷ peak sun hours. Our off-grid solar and battery calculator does the sums for you.
Worked example. A small 12V fridge (about 400Wh a day), lights (50Wh) and devices (150Wh) come to 600Wh. With 4.5 peak sun hours that is 600 × 1.25 ÷ 4.5 = about 170W, so two 100W panels cover it. In winter, with around 2.5 sun hours, the same load needs about 300W.
Before you buy, measure your roof or rack and check that the panels fit with room for cables and mounting. Sun hours vary across Australia, so use the BOM solar exposure figures for your location.
Wiring, voltage and controllers
Voltage: 12V panels usually have an open-circuit voltage around 22V to 24V (the Renogy 100W is 24.3V). Larger panels run at higher voltages. Panels in series add voltage, and panels in parallel add current.
Charge controller: a 12V battery needs a controller set for its type (AGM or lithium). MPPT controllers are generally more efficient than PWM, especially with higher-voltage panels. Check the controller’s maximum input voltage, and allow for the panel voltage rising in cold weather.
Power stations: compare the panel’s open-circuit voltage with the unit’s maximum solar input before you connect anything. Our portable solar guide explains what to check.
Fuses and cable: fit a fuse or breaker near the battery and use cable sized for the current and the run length.
Get it checked: for a fixed installation, have a licensed electrician check the wiring, and check your state’s rules if you are modifying a vehicle.
Heat, shade and lifespan
Heat: panels lose output as they get hot, so mount them with an air gap. The datasheet’s temperature coefficient shows how much output drops per degree above 25°C.
Shade: bypass diodes in the junction box let current route around shaded cells, but shade still cuts output.
Lifespan: glass-and-aluminium panels commonly last 25 years or more and often carry 25-year performance warranties. Check the product and performance terms for the model you buy.
Pros and cons
Pros
Longest lifespan of the main panel types
Lowest cost per watt
Tough in hail, wind and heat when mounted properly
Simple, proven technology
Cons
Heavy, and cannot bend
Needs a flat, secure mounting surface
Not portable once fitted
Needs a controller if charging a bare 12V battery
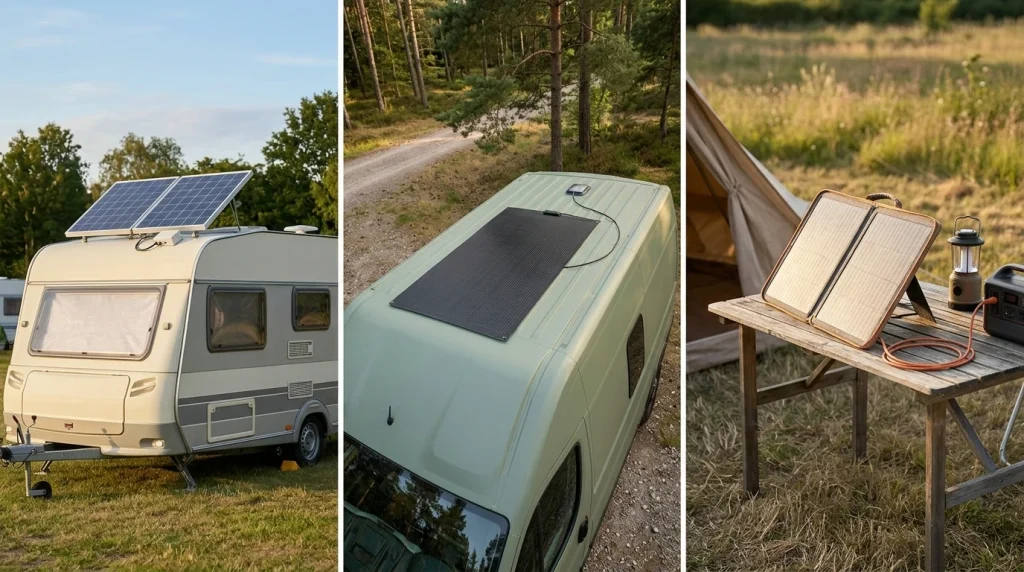
Which type suits you?
Flat roof or fixed site with space: rigid monocrystalline (this guide).
Three-panel collage showing a caravan with rigid roof panels, a campervan with a thin flexible panel and a camp table with a folding portable panel, each with its solar setup clearly visible. Which one’s right for you?
Monocrystalline panels are generally more efficient, so they produce more power from the same area. Polycrystalline panels are older and usually cheaper, but they are now less common. For a space-limited roof, monocrystalline is the usual choice.
How long do rigid solar panels last?
Glass-and-aluminium panels commonly last 25 years or more, and many come with 25-year performance warranties. Check the manufacturer’s terms for the specific model.
Do I need an air gap under the panel?
It is a good idea. A gap lets air carry heat away, which helps output and lifespan.
Can I connect rigid panels directly to a power station?
Often yes, using the right adapter cable, but check that the panel’s open-circuit voltage is below the unit’s maximum solar input. Two panels in series add their voltages.
Do rigid panels work on cloudy days?
Yes, but at a fraction of their rated output. Plan for lower yield and keep spare battery capacity.
Final thoughts
For a fixed setup on a flat surface, a rigid monocrystalline panel is usually the best long-term value. Work out how many watts you need with our calculator, check the voltage against your controller, and mount the panels with an air gap. If rigid panels don’t fit your roof or travel style, compare the other options on our Solar Panels hub.